One of the many perks I have found about working on a dairy farm is access to all the raw milk and cream I can get my grubby hands on. While I have dabbled in many a various home dairying project, my lack of a constant supply of raw milk has made them sporadic at best until now. And of all the simple DIY milk endeavors one could undertake, cultured butter is probably the simplest. So would you believe that I have never tried it til now? I know...shocking.
All you need for cultured butter is cream, yogurt (for culture), and either a food processor or stand mixer. You could make the task even simpler by nixing the culture in lieu of sweet cream butter, which is what most American palettes prefer. I love both, but have come to really appreciate the cultured (or European) kind for its added gut-friendly flora and slightly tangier taste, not to mention its longer (refrigerator) shelf life. Either a stand mixer or food processor will do, a mixer being a little messier.
 |
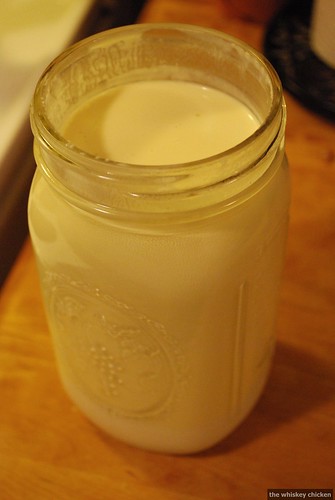
| fresh raw cream |
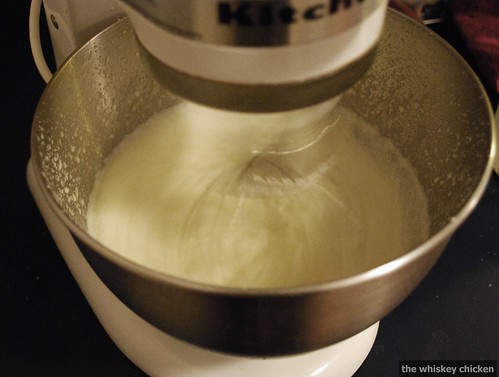
In either you over whip the cream until the solids break away from the liquid. With a little less than ten minutes of whipping, the cream will go through three stages: whipped cream, the cream "breaks" and some solids start to form and look like pebbles in a puddle, the solids clump together in a mass. After which, all that's needed is a little gentle kneading to persuade the remaining liquid (or buttermilk) to expel itself, and a little salt if you so desire.
 |
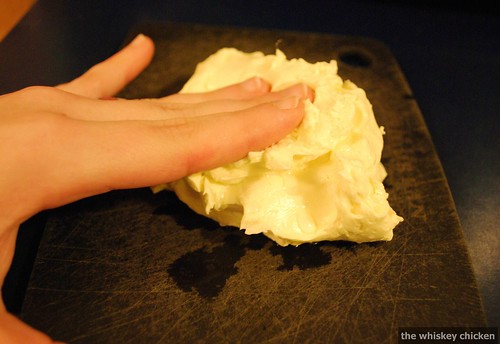
| washing & kneading |
 |
| more kneading |
Homemade Butter (with or without Culture)
ingredients
1 pint cream (raw or pasteurized)
3 Tablespoons plain whole milk yogurt (leave out for sweet cream style)
salt (optional)
If going the European route, slowly whisk yogurt into the cream and leave out at room temperature for 12 hours. (The cultures in the yogurt will immediately go to work and prevent the cream from spoiling).
Pour cream into your mixer or processor and set to Medium until slightly thickened, then to High.
Watch for the three stages: whipped cream, small solids, mass of solids. (You may want to drape a towel over your mixer to control the frenzy of milk droplets that will ensue).
Once a mass starts to form in the bowl (it will sound...sloshier), drain off your buttermilk (don't throw it out!).
Pour cold water over your butter and knead with your hands, rinsing and draining several times until the water is clear.
Transfer butter to a clean bowl or cutting board and continue kneading a little longer to get out any last remaining liquid.
This would be a good time to salt or add flavors if you want.
Fresh unsalted butter will last about a week in the refrigerator, salted a little longer, and cultured for several weeks. And, of course, you can freeze it. And do I really need to mention that it will be spectacular and will transform your
Whether you prefer your butter sweet and innocent or cultured and worldly, once you have tasted your own it will be very hard to go back.
 |
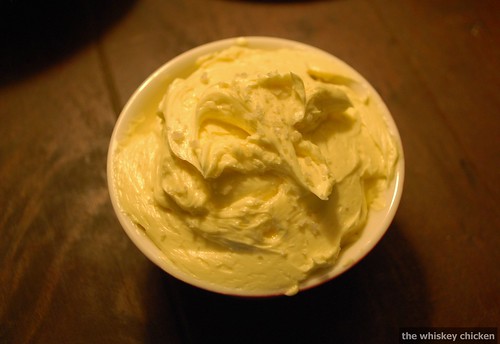
| edible Gold |
